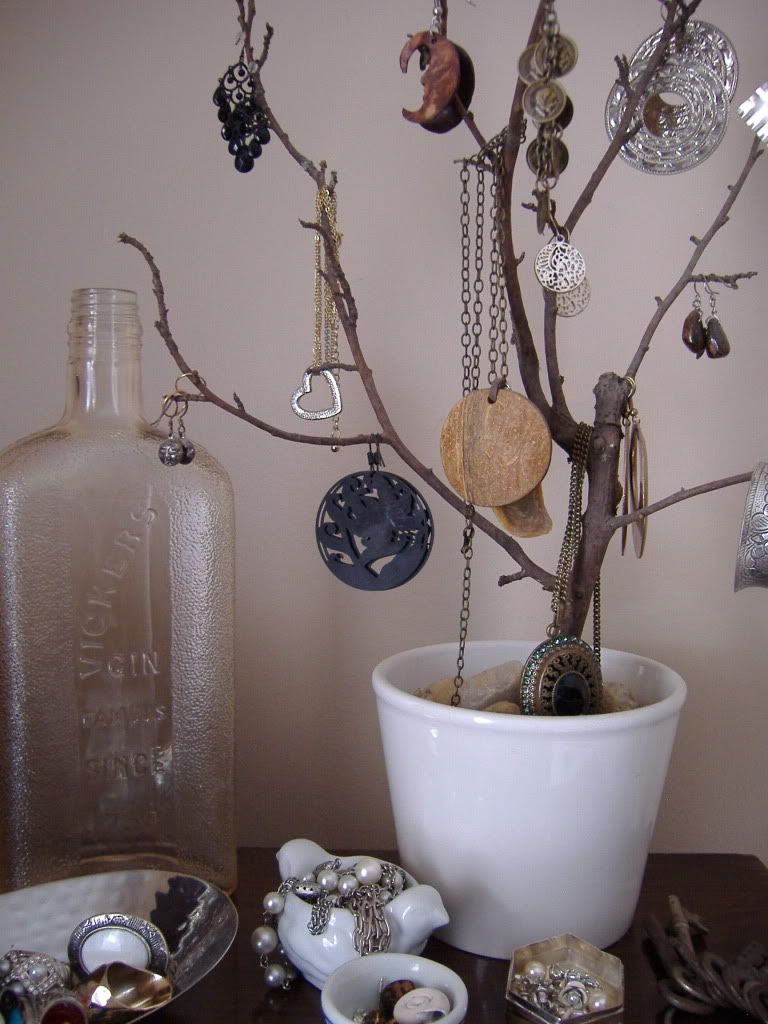
I came to the realization that if I can't see the jewelry that I have, I forget about it & never end up wearing any, so I did some reorganizing & made this jewelry tree to keep some stuff on display. I actually created this jewelry tree last summer, but because we will be relocating soon & it is too fragile to move, I wanted to share it before it gets put to rest. A jewelry tree is super simple & quick to make, I'll show you how!
Materials:
- tree branch with lots of limbs
- rocks
- container
- hot glue (optional)
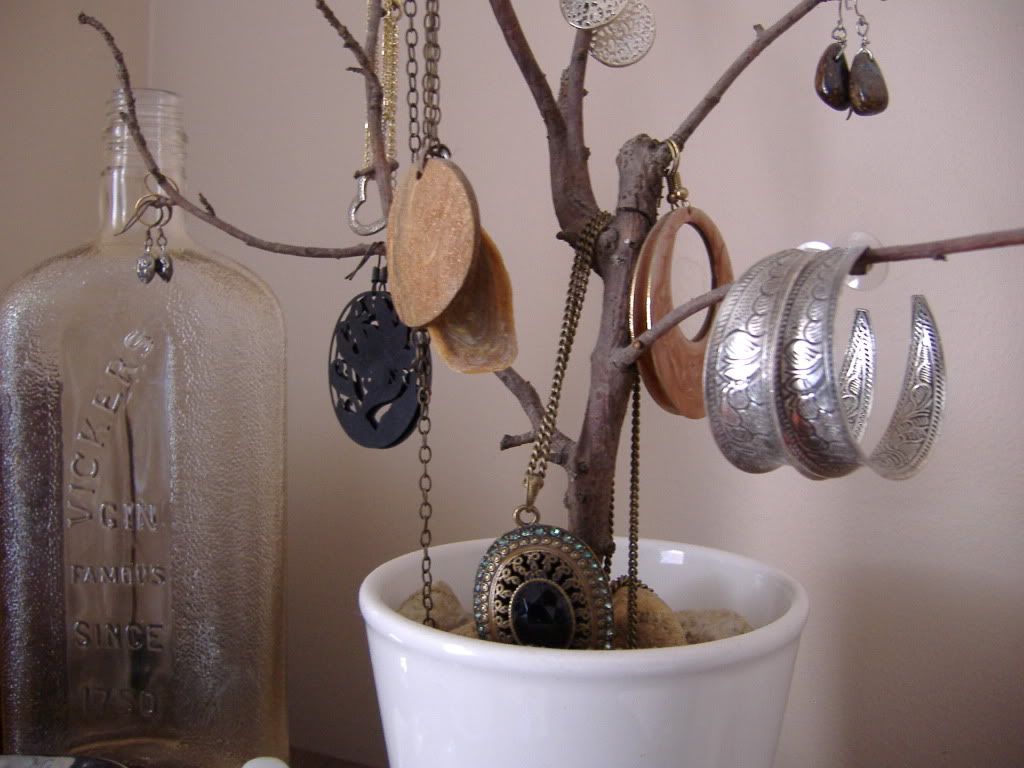
1. Pick your branch & give it a good shake outside so you're not bringing in any unwanted friends (or snow). I hung my branch in the house for a few days just to dry it out a bit.
2. If your container isn't very deep, you may want to secure the bottom of the branch to the inside bottom of the container with some hot glue, otherwise just pile the rocks around the branch until it is stable.
3. Arrange your jewelry, it's that easy!
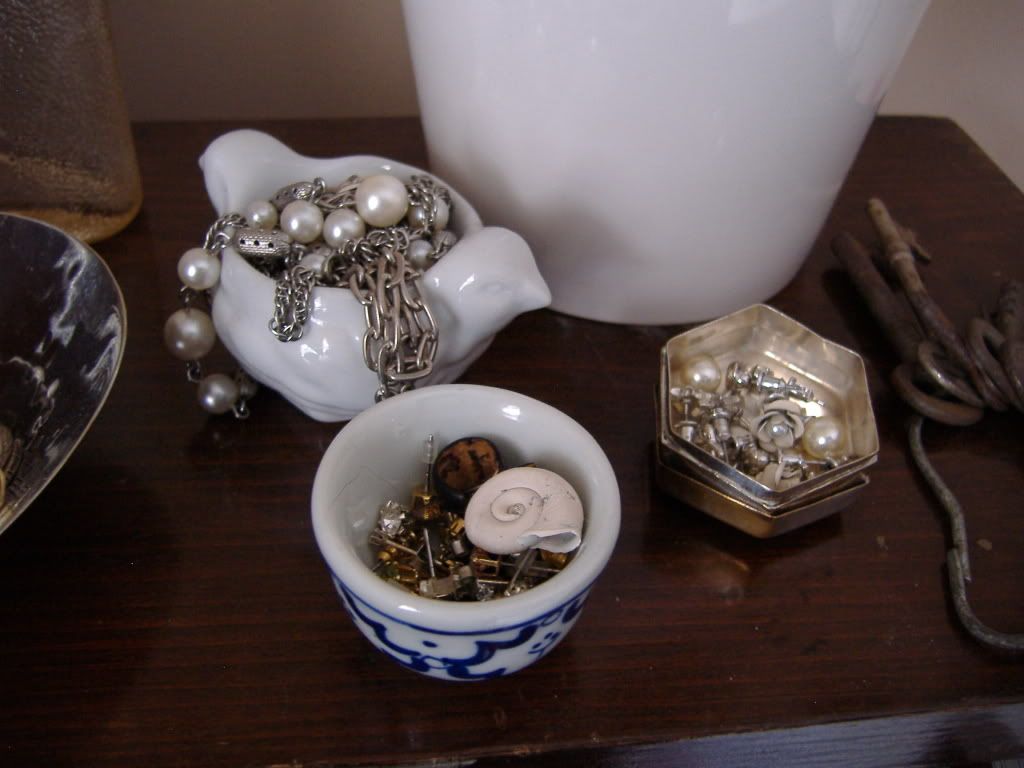
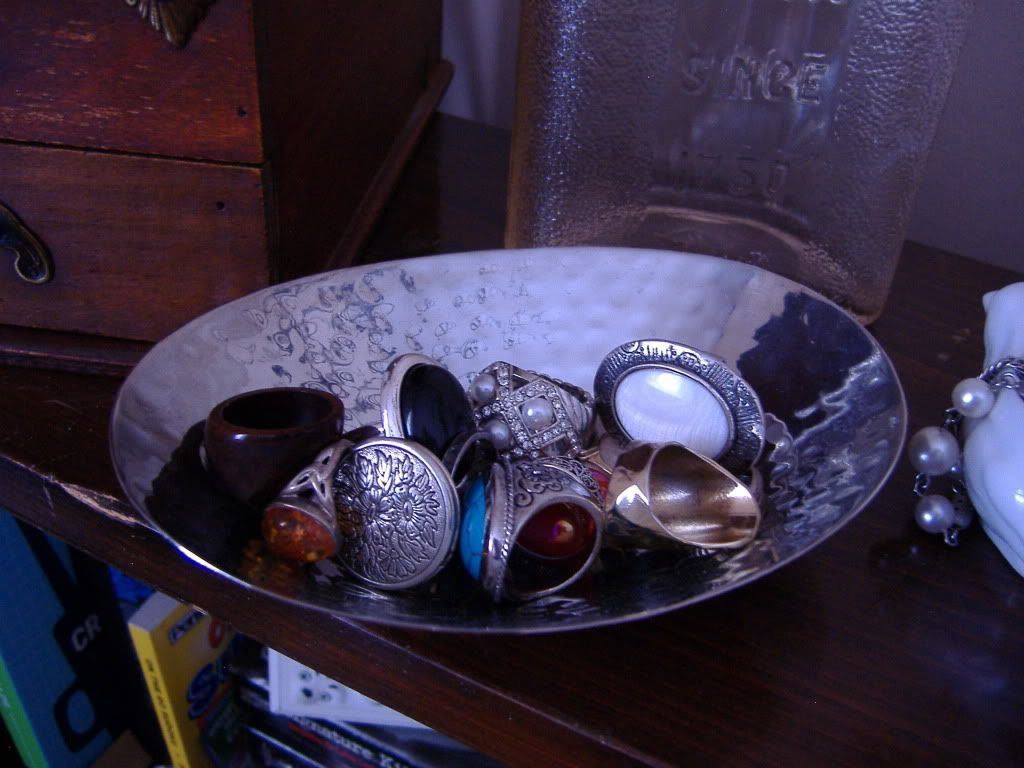
For storing rings & stud earrings, I have a collection of little containers made of various materials in a grouping below the jewelry tree. Some of the containers I've received as gifts & others I found in thrift stores. I think small containers are among my favourite things to collect!
Over the holidays I also got a new jewelry box, so I'll be incorporating it into my jewelry displace at our next place!
How do YOU display your favourite jewelry?


I think that you did a wonderful job with just a ordinary branch....Bravo!! It looks great :) And those little containers are a great idea too, wish i had room for something like that, but my place is just too small, but i will pass this on to my Facebook friends !! I am sure they will love it too!!! Thanks for the great ideas!!!
ReplyDeleteCute, cute, cute idea! I really like the look of shiny jewelry on a natural branch. Thanks for sharing it in the DIY Talent Parade!
ReplyDelete